Sausage Fest


Hands up: how many of you out there have encountered difficulties cooking sausages over a charcoal grill?

There’s certainly no need to feel ashamed. It’s a common issue.

Typical problems:

  • Sometimes your sausages cook too quickly on the outside, but not on the inside.

  • Other times they burst and spill their precious juices all over your coals, drying up and causing flare-ups.

  • And then there are times when you leave them sitting on a fire too long and they dry up and get shrivelled and tough.

Luckily, there is a solution, and it’s a pretty foolproof one, too.

A couple of years ago I became a convert to the “Simmered ‘n’ Grilled” sausage method J. Kenji López-Alt developed for Serious Eats. The idea here is to create a moist bed for the sausages that will allow them to cook more gently while imparting them with flavour.

So, if you’re cooking German-style sausages like brats or wieners, you might provide them with a bed of sauerkraut moistened with beer or wine. You place your mixture in disposable—but reusable!—foil pans, you nestle your sausages on top, and you place your pans over the coals in a two-zone barbecue. When the liquid begins to bubble, move the pans over to the cool side of the barbecue. It will likely take about 15-20 minutes for your sausages to cook properly, but that will allow the sausages and the bed of sauerkraut to commingle. Keep your meat thermometer handy. After about 15-20 minutes, check their temperature—you’re looking for an ideal temperature of 150º F.

At that point, your sausages are ready to be moved to the hot side of the grill so you can crisp them up and apply a perfect char to them. This process will be quick—a couple of minutes max—and when you’re done, the sausages will be gorgeous, juicy, and supremely flavourful.

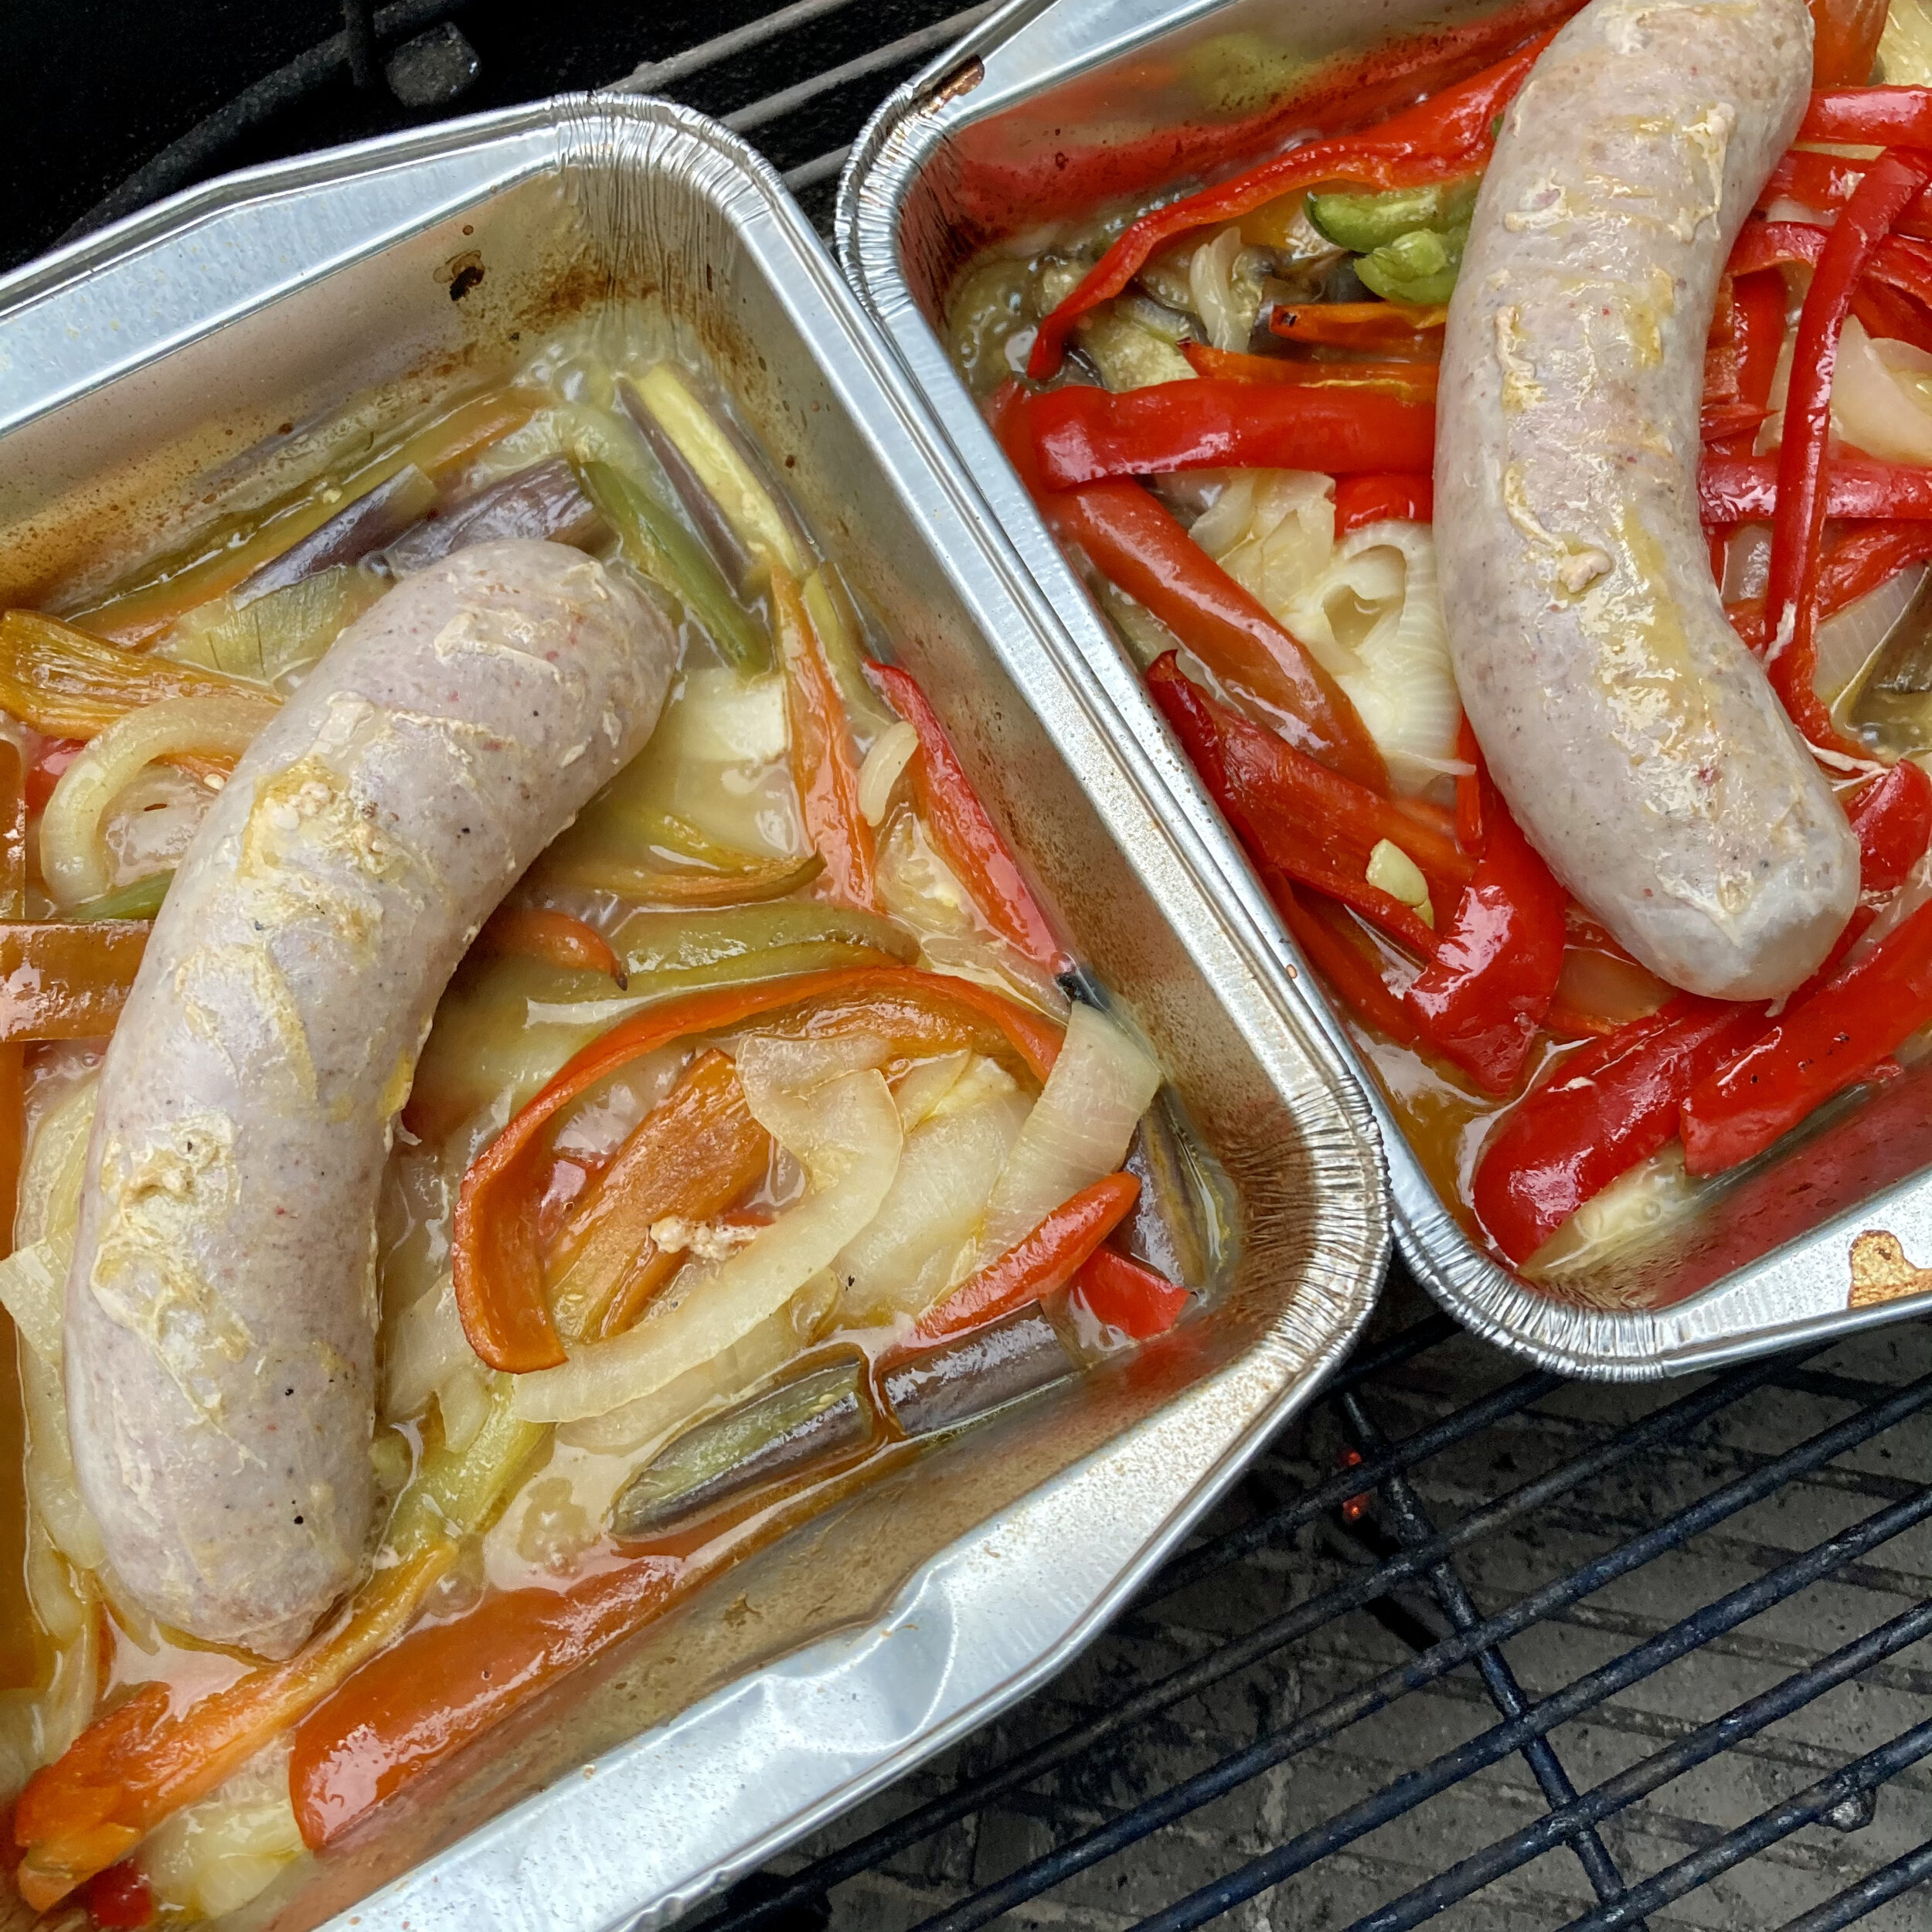
In my case, I was cooking Spicy Italian Sausages with Fennel, so I went the iconic route and accompanied them with onions and sweet peppers. But I also had some gorgeous organic Japanese eggplants, so I quartered them lengthwise, chopped them up, and added them to the trays too. I also added a large clove of garlic to each tray. As for my moistening agent, I added some homemade chicken broth.

onions, peppers.jpeg

Because of the eggplants, I started the trays on the grill without the sausages for about 15-20 minutes to give the veggies a head start. Then I added the sausages and followed the Serious Eats method.

IMG_2691.jpeg

Lo and behold, in about 20 minutes, my sausages had reached temperature and were ready for the finishing touches. So I moved them over the coals, and voilà! After a couple of minutes, they were perfect, so I placed them back in their trays and brought them inside.

IMG_2693.jpeg

These sausages, together with the onions, peppers, and eggplant would be phenomenal stuffed inside an Italian roll. An Italian-American street food classic.

But on this particular occasion I had the idea of tossing them with some pasta and Parmesan cheese and serving it in a bowl with some chili oil drizzled over top. It was exactly what I was looking for.

aj

Bread & Tomatoes

 
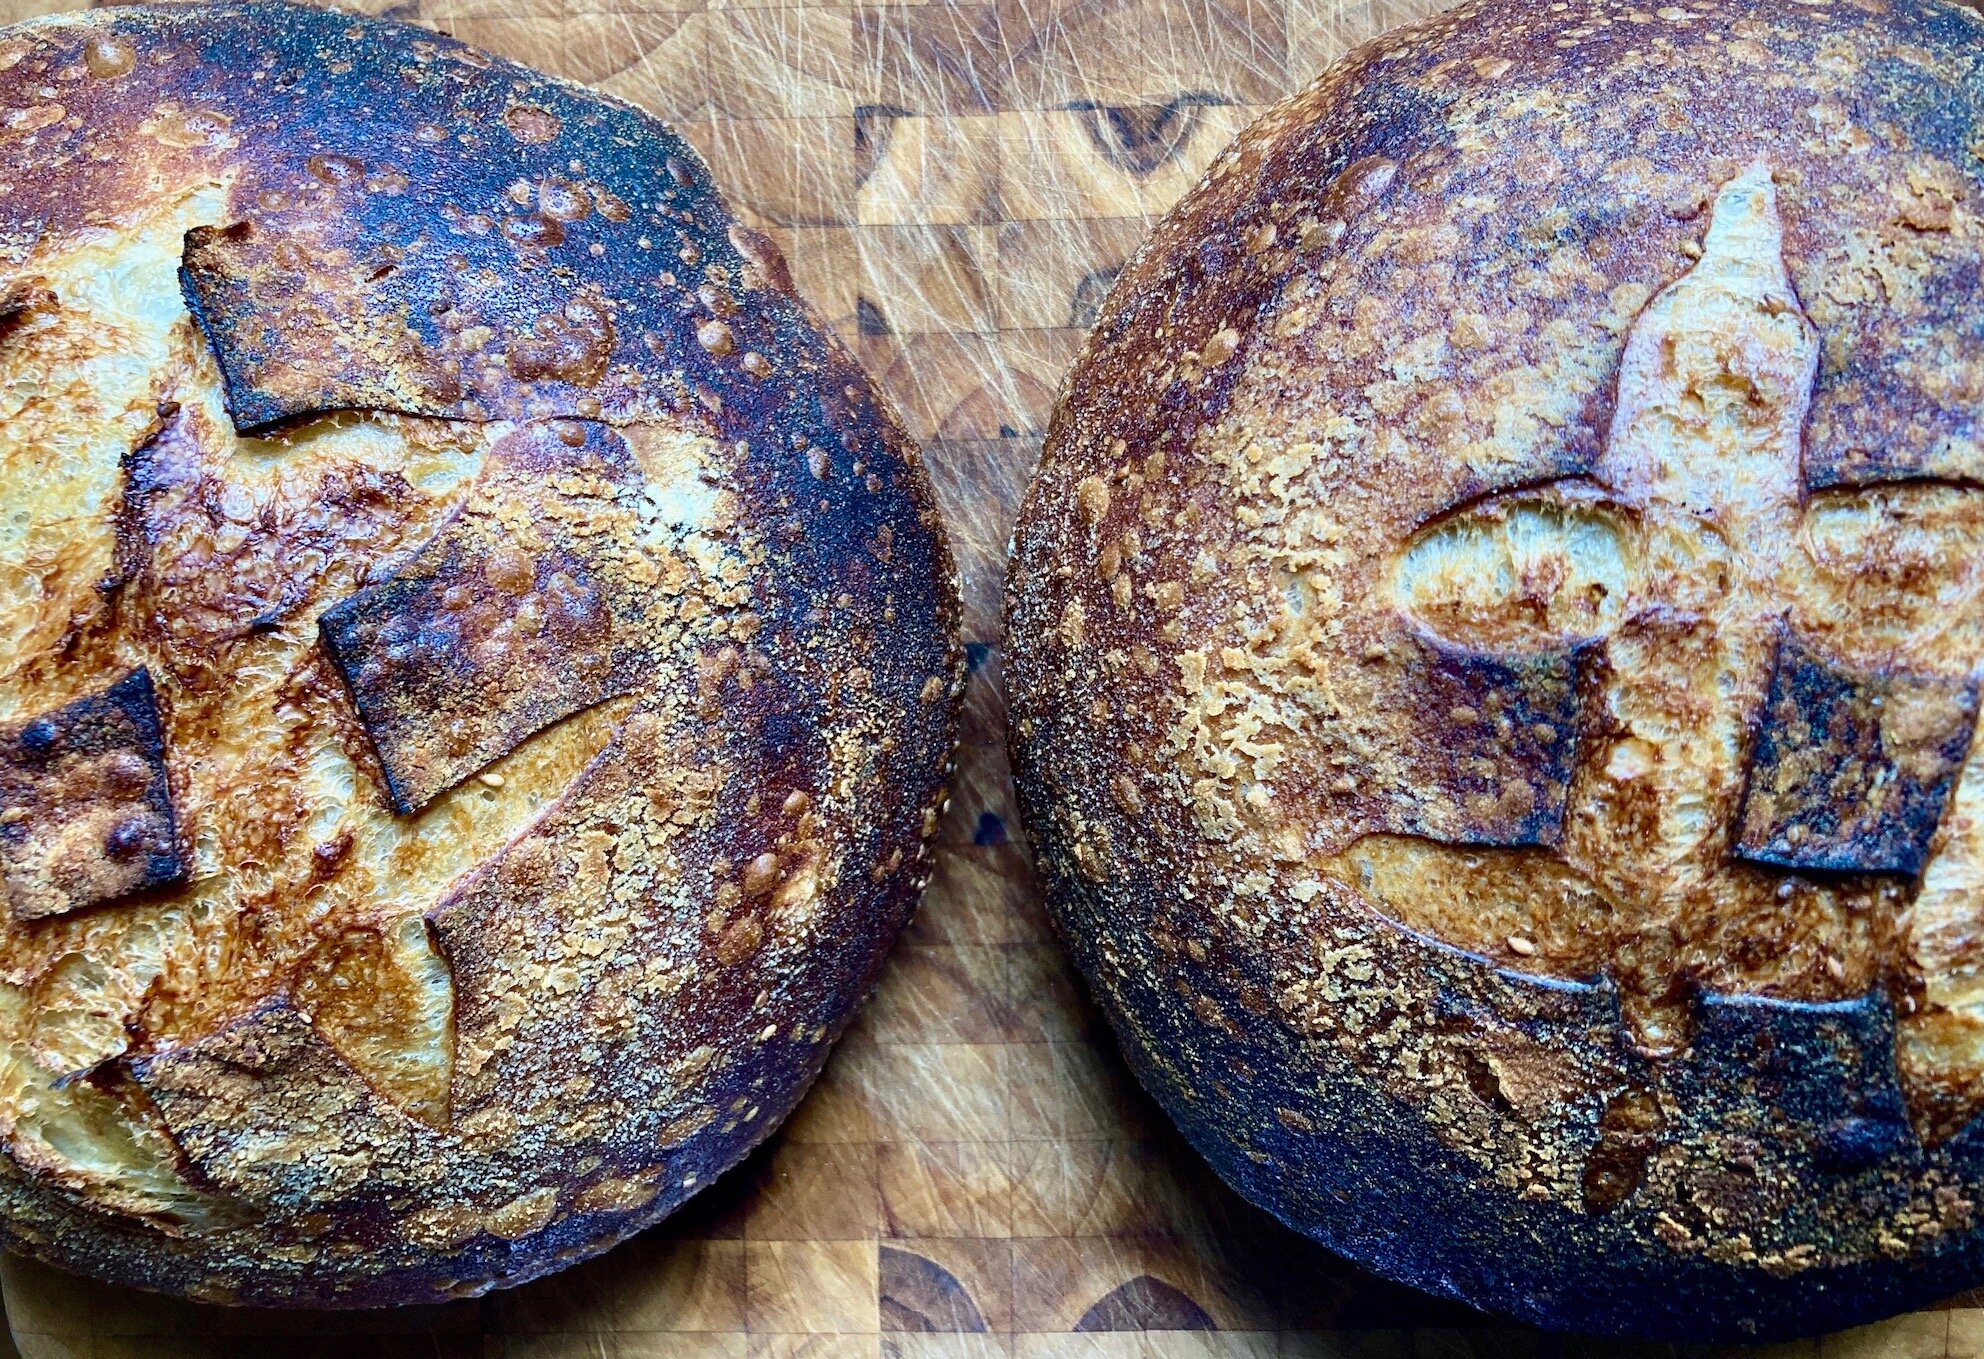
fig. a:  Sunday morning loaves

fig. a: Sunday morning loaves

Semolina-Sesame Loaf

20% semolina (preferably semola rimacinata, an extra-fine “re-milled” or twice-milled Italian variety)

80% bread flour

15% levain

85% water

2.5% sea salt

3.0% toasted sesame seeds

fig. b:  levain landscape

fig. b: levain landscape

This semolina-sesame loaf has been my latest obsession over the last couple of weeks. It was inspired by the semolina loaves that were a specialty of some of the truly old-school Italian-American bakeries of New Jersey back in the day. For a while, I worked in a wine store in Northern Virginia that used to import dozens of loaves of bread from Jersey every Thursday. I got pretty hooked on the flavour at the time. Those loaves tended to have sesame seeds generously sprinkled on top. In this case, I put an especially generous amount of toasted sesame seeds inside the loaf.

Yesterday, I celebrated the arrival of my latest batch of semolina-sesame bread by making a somewhat old-school spaghetti dinner with lots of garlic and a couple of anchovies in the sauce. I wanted to have something that was saucy and savoury, something that would need some sopping up, something that was just begging for a freshly baked loaf of crusty bread.

This time of year, fresh tomatoes that have any flavour to them are a little hard to find, for reasons that should be obvious. Therefore, from the tail end of fall until the early days of summer, I tend to seek out the tastiest canned tomatoes I can find for many of my home cooking projects, including the making of tomato-based pasta sauces. Without being ridiculous, use the best tomatoes you can afford. Spending a few bucks on a can of tomatoes might seem extravagant to some, but, unless you grow your own, the best fresh tomatoes can also be pricey (rightfully so, in most cases), and a good can of tomatoes packs a lot of potential into its tight, tinned confines.

If you happen to be in the States, keep your eyes open for these sweet, delicious Stanislaus 74-40 tomato filets from California. (They’re worth buying for their anti-Brand X propaganda alone!).

fig. c: 74-40 or bust!

fig. c: 74-40 or bust!

If you’re in Montreal, it’s nice to see that Bianco DiNapoli’s phenomenal canned tomatoes—also from California, but this time organic, too!—are readily available.

I like breaking open an extra-large can like the one you see above and then parceling its contents in a variety of ways for a variety of different projects, at least one of which will usually be a pasta sauce of some kind. The one I made yesterday was quick, easy, and super-satisfying:

Simple Umami-Rich Pasta Sauce

1 28-ounce can canned tomatoes (or equivalent), crushed by hand in a bowl

a generous glug of extra-virgin olive oil

1-2 oil-packed anchovies (preferably packed in olive oil)

1-2 medium to large cloves garlic, minced

1 generous pinch crushed chile flakes

salt to taste

Heat your olive oil over medium-low heat. When your olive oil is warm, add the anchovies and stir with spoon until they have broken down and melded with the olive oil. Add the chile flakes and cook 15-30 seconds, until aromatic. Add the garlic and cook for another 15-30 seconds, until the garlic becomes aromatic and it takes on a hint of golden colour. Add the tomatoes with all their juices and simmer for 20-30 minutes over low heat. Season to taste with salt before serving.

Serve over spaghetti, with freshly grated Parmesan, some garlicky homemade breadcrumbs (if you got ‘em!), and some freshly torn basil leaves.

When you serve this sauce with pasta, don’t be stingy. There should be a little sauce left in the bottom of the bowl that’s calling out for a crusty bread.

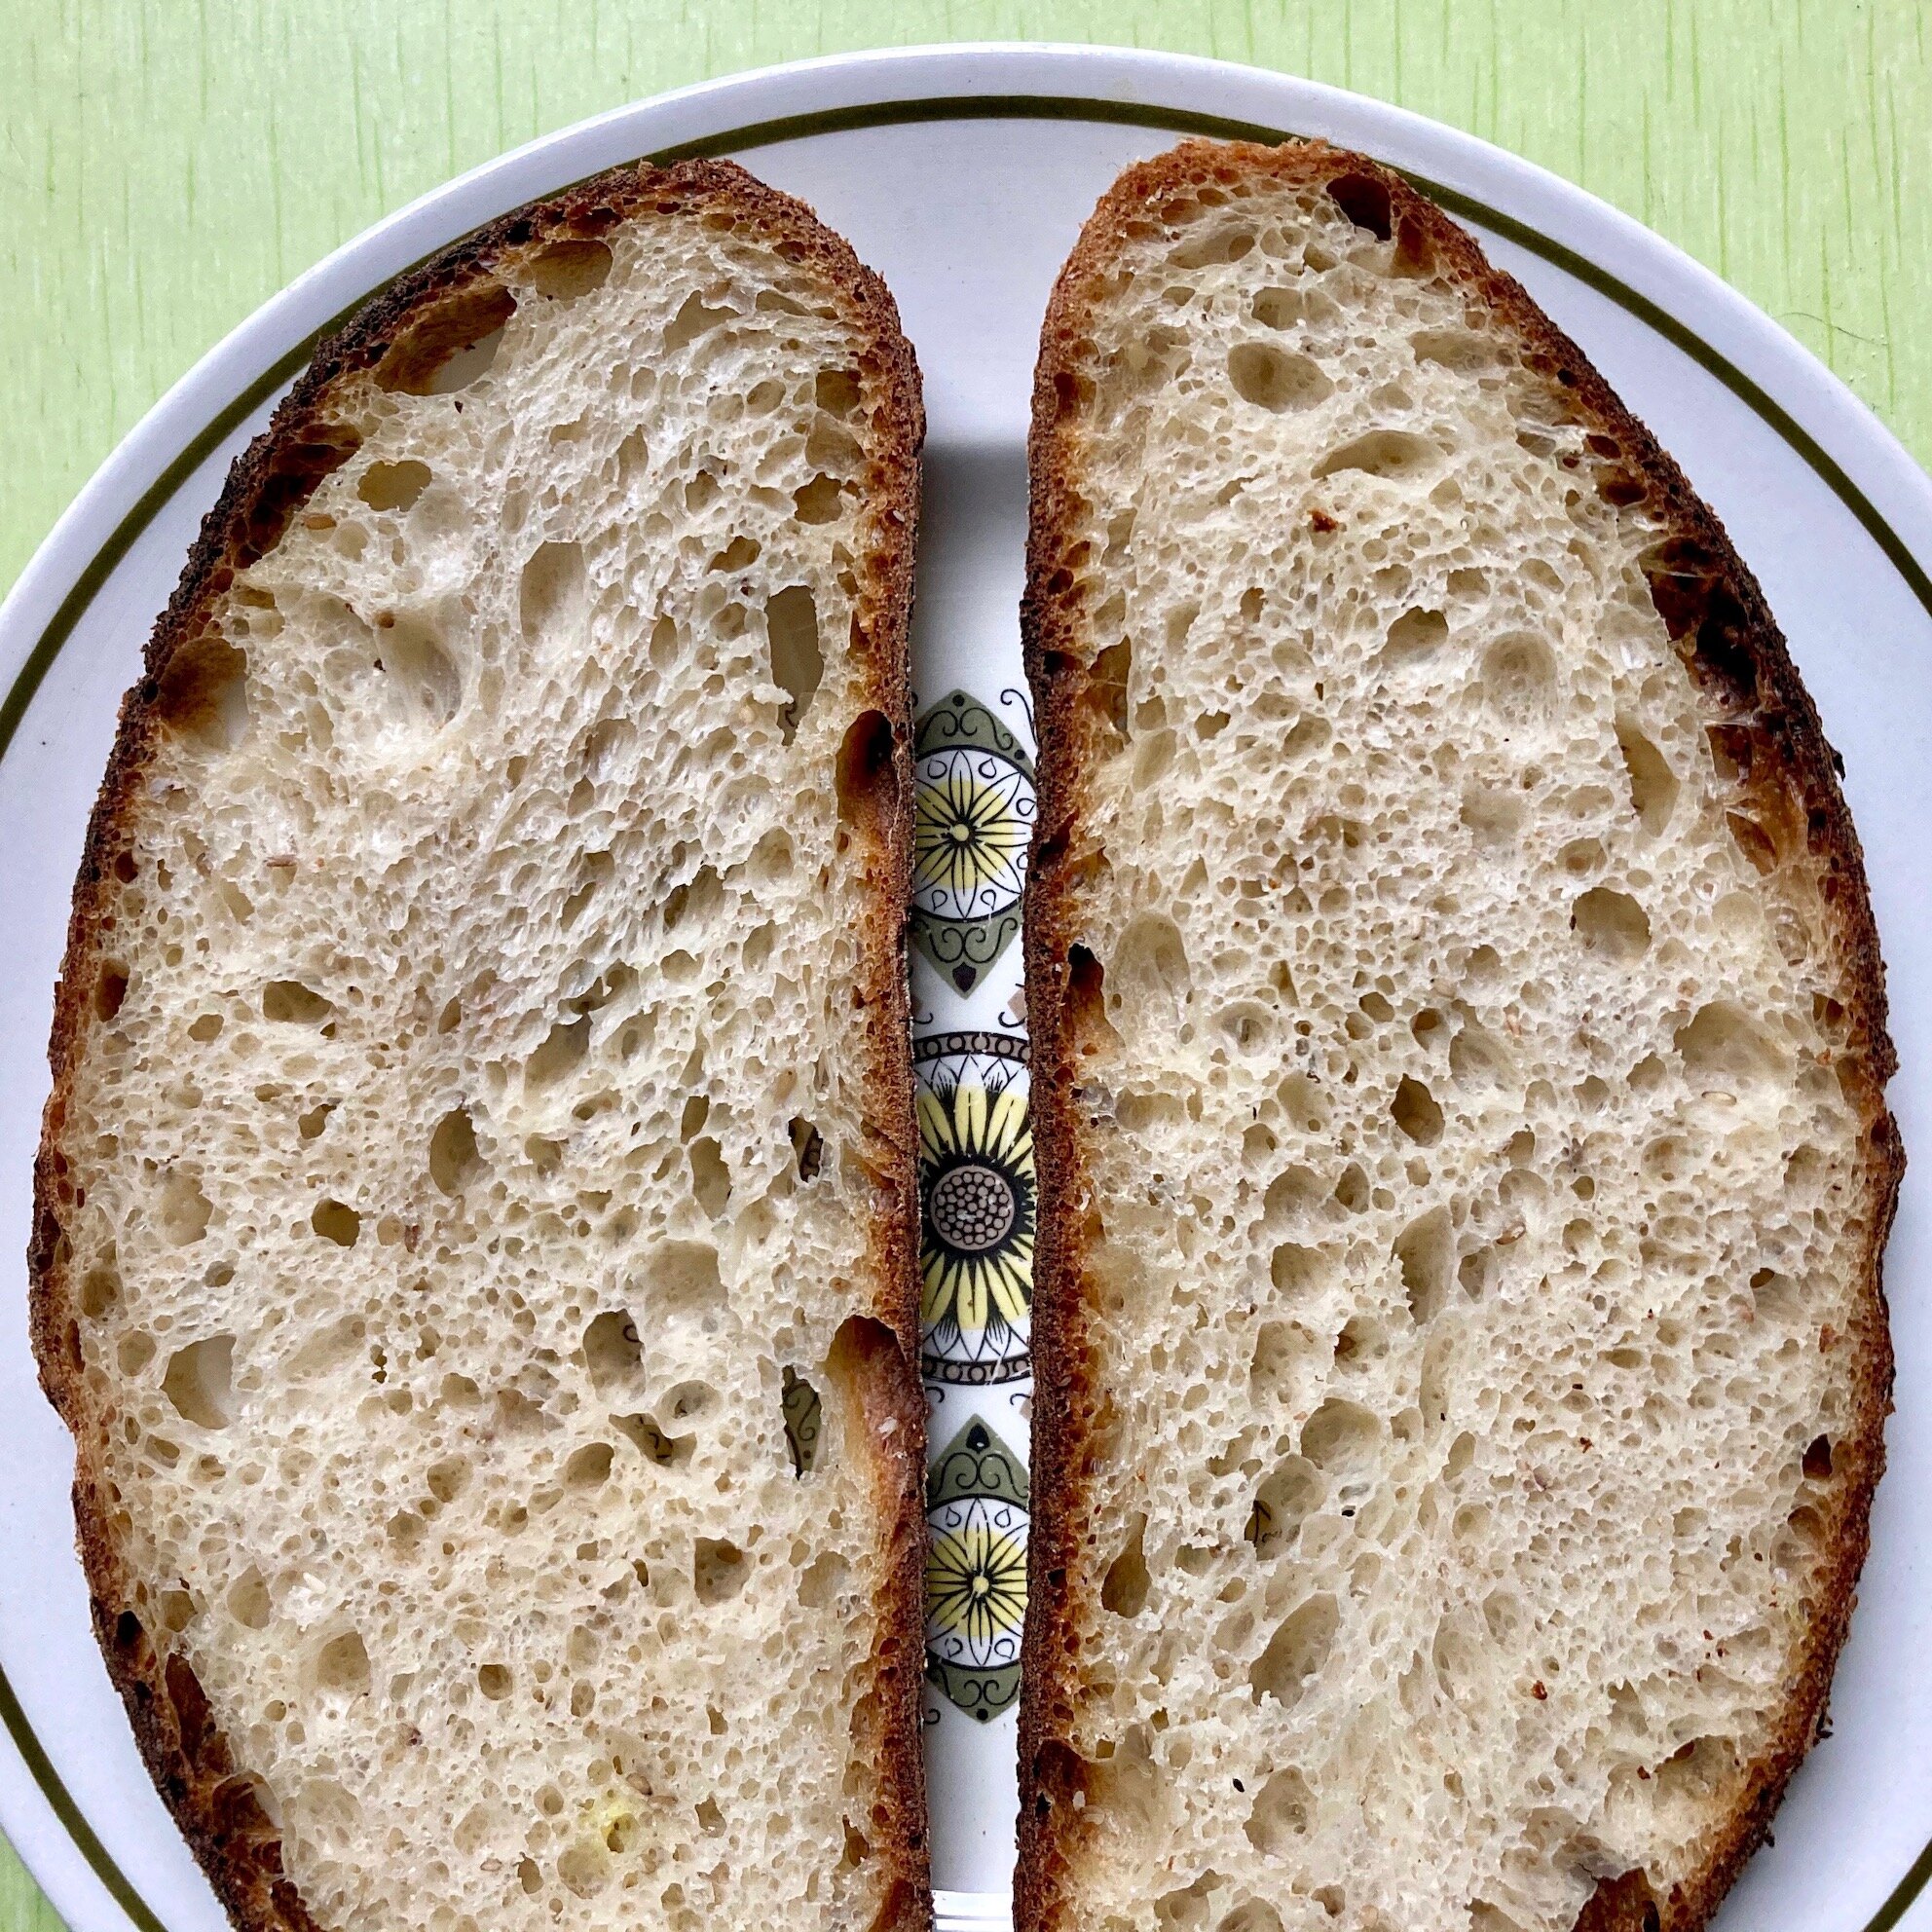
Of course, crust isn’t everything. There’s also something to be said for structure, and for a tender, flavourful crumb, like these two specimens:

fig. d:  semolina-sesame crumb #1

fig. d: semolina-sesame crumb #1

fig. e:  semolina-sesame crumb #2

fig. e: semolina-sesame crumb #2

Using semola rimacinata instead of standard semolina is one of the big reasons the crumb on this loaf is particularly tender and fine. Plus, semola rimacinata is a great product to have around the house—it’s fantastic for making homemade pasta.

Anyway, although they’re hard to see, there’s plenty of flavour-packed toasted sesame seeds in this loaf, which only add to the taste sensation. I used to toast my sesame seeds myself, but it was a bit of a hassle, especially because sesame seeds are delicate and easily scorched if you don’t watch them carefully. These days I just buy large bags of Japanese toasted sesame seeds—we use them all the time when we cook Japanese dishes, and they’re perfect for bread baking.

This bread is delicious on its own, phenomenal with butter, and simply crazy with red sauce.

aj