Conjuring Congee, once again

This recipe from Danny Bowien is one that first appeared in “…an endless banquet” way back in 2013—in an entirely different era—but the recipe itself is a keeper, and it’s one that we’ve returned to again and again, especially around this time of year. In fact, the first time it appeared in these pages was on February 24, 2013.

Our latest batch of congee, made just last week, was a response to winter 2021, out of a need for the kind of comfort only chicken soups of all kinds can offer—because that’s essentially what this version is: a supremely comforting, even reassuring chicken soup. But it was also a response to a recent batch of chili-crisp that I made, one that was just begging to be drizzled over a steaming bowl of congee with all the trimmings (or at least some of them).

fig. a:  AEB chili-crisp

fig. a: AEB chili-crisp

In addition to the chili-crisp, we dressed our bowls of congee with an assortment of vegetable and herbal accompaniments: simple stir-fried cabbage, simple stir-fried shiitake and cremini mushrooms, chopped scallions, cilantro, an oil-fried egg, and toasted sesame seeds.

If you’ve never made congee before, it’s an incredibly nourishing meal. It’s easy to feed a large crowd with it (as many as 10-12), but it’s also great for a small household—like ours—because the leftovers are equally phenomenal and it freezes well. You could scale back the recipe, but unless you’re without freezer space or you live in a temperate climate and don’t have access to an “outdoor freezer” like we do here in Montreal, what’s the point? I guarantee that you’ll be thrilled to have extra portions on hand in the coming days and weeks. I certainly have been. When I had a bowl for lunch the other day, this is what my simplified version looked like:

fig. b:  chicken congee, cabbage, cilantro, chili-crisp

fig. b: chicken congee, cabbage, cilantro, chili-crisp

Though this particular recipe is all about the chicken—it has everything to do with the wonderfully silky texture that is created as the rice cooks with a cheesecloth-bound chicken suspended in it, as well as the lovely perfumed qualities the chicken takes on as it is poached in the rice—it’s quite possible to make a delicious vegetarian (vegan, actually) version of congee. Just cook the rice in a flavourful and highly umami-rich vegetable broth (one that makes great use of dried shiitake mushrooms, say). When Michelle used to prepare congee at the Foodlab years ago, she did exactly that. Their congee was entirely vegan, as were many of the topping options—and all the more popular for it. And recently I’ve seen another Danny Bowien congee recipe, one for an entirely vegan (or at least easily vegan-ized) kabocha squash version, kicking around on the internet.

Lastly, it’s my understanding that congee is not a traditional offering during lunar new year celebrations. It’s too simple. It’s not considered festive enough. But as many people have noted, the fact that 2021 is the Year of the Ox seems somehow appropriate in the midst of an ongoing global pandemic, given the fact that this astrological sign has everything to do with resilience. And the ox is nothing if not a reliable animal, of course. So now might perfect time for congee: it’s as reliable and comforting a dish as they come, and it’s the kind of recipe that makes for an especially tasty and satisfying show of resilience.

Without any further ado, here’s our AEB take on Danny Bowien’s congee recipe, one that first appeared in the “Chinatown” issue of Lucky Peach back in the fall of 2012:

Chicken Congee

1 whole chicken, preferably with head and feet
1 celery stalk
1 carrot
2 cups white rice
8 qts water
cheesecloth
2 chopsticks

toppings of your choice (such as toasted sesame seeds, chopped cilantro, egg yolks, salmon roe, smoked eel, sea urchin, etc.)

Salt the chicken heavily inside and outside the cavity. Make sure you rub salt under the wings. Stuff the cavity with the carrot and celery stalk. Refrigerate overnight.

Bundle the chicken in a large piece of cheesecloth and tie it off. The cheesecloth needs to be big enough that you'll be able to tie the excess cloth to the side of a stockpot in a knot.

Toast the rice in a dry stockpot over medium heat. Don't rinse the rice first. Here, you want the starches on the surface of the rice to thicken the porridge. Also, be careful not to burn the rice. Stir constantly until it is lightly toasted and aromatic--just a few minutes.

Add the water and bring to a boil over medium heat. Starting with cold water and boiling over medium heat (as opposed to high heat) will yield a lighter, cleaner soup.

Once the porridge boils (be patient, this will take a while), lower the chicken in and tie the cheesecloth to the handle of the pot, so the bird doesn't sit on the bottom and burn.

Vent the pot with a pair of chopsticks by balancing the chopsticks on opposite ends of the pot. Point one toward you, and the other away from you, then rest the lid on the chopsticks. (Bowien notes: "My cooks used to burn this porridge because they thought they knew a better way to vent the pot, but this is the way grandmothers do it. Trust me." We note: this method works perfectly. It both vents the pot and catches the condensation. The result is an ideal cooking temperature and maximum flavour.)

Cook at medium heat for 45 minutes to an hour. The rice should be very soft but not completely exploded into mush. Pull the chicken out and shock it in ice water. Once it's cooled, you can slide it and use it as a garnish or any other application that calls for a nicely poached chicken. Because that's exactly what you get: a nicely poached chicken with hints of rice flavour.

Season with fish sauce and salt. Bowien suggests: "Garnish with chopped cilantro, sesame seeds, an egg yolk, and your choice of toppings--smoked eel, ikura, uni, whatever."

Bowien claims that this recipe produces "4-6 servings," but, in fact, it makes enough for at least 12.

What We Need Now 2: Plum Cake


This is an elegant, truly delicious, and unbelievably simple recipe for a “pantry cake” (a fruit-based, crispy/tender slab cake that doesn’t require any obscure ingredients) that Michelle devised for our friends at Elena and the Remember Skin Contact? cookbook they created this spring as a fundraiser for the Montreal Restaurant Workers Relief Fund after the shutdown went into effect. (Great people! Great cause!)

Imagine a luscious, plum-laden European coffee cake, and you kind of get the gist of this cake and the vision behind it.

fig. a: no imagination necessary—here it is!

Imagine a cake that’s incredibly easy to make and knocks it out of the park every time.

Michelle had berries in mind when she first invented the recipe, because it was April, berries were due to begin arriving on the scene by June and early July, and the thought of making this cake with blueberries or blackberries seemed like a natural. But she wanted a recipe that would accommodate other fruit options as well, and one of the variations that she was most interested in trying was with plums. Why plums? Well, we love plums, we love plum desserts and plum dishes, and we often find ourselves dreaming of plums—sugar plums, and otherwise. I mean, we did name our preserves line Švestka, after all.

fig. b:  early branding

fig. b: early branding

What we didn’t know at the time was that while 2020 has been an absolutely lousy year for virtually everything, it turned into a pretty good plum year. We have an old plum tree that had never really produced in the time we’d known it, but that exploded with fruit this summer.

fig. c: bumper crop

And plums at the farm stands, farmers’ markets, and co-ops have been tasty and plentiful. In fact, this latest batch of the plum cake was inspired by these lovely, Italian-style Valor plums that we came across on the weekend. So tiny! So sweet! Plus, they look a lot like the Švestka plum!

fig. d:  Valor is my name

fig. d: Valor is my name

So, if Italian plums are in season or available where you live, they’d be perfect for this recipe.

But the genius of this recipe is that it will definitely work like a charm with berries of all kinds, and it could just as easily become a cherry or pear cake (and around here, it has). And if you don’t have any kirsch on hand, you could also use other liquors, like rum or bourbon, depending on the fruit. In other words, it’s an incredibly versatile recipe. Stick to the original “luscious, ____-laden European coffee cake” vision behind the recipe, and you should be in good stead.

We highly, highly recommend the original plum version, though. We’re a little partial, of course, but we both think it’s kind of perfect, and I’m quite sure it’s my favourite variation.

fig. e: Plum Cake, by the slice

Michelle’s Simply Beautiful Plum Cake

batter:

1/2 cup A.P. flour

1/2 cup semolina flour

1 tsp baking powder

1 generous pinch salt

2 eggs

3/4 cup sugar 

1 tbsp sour cream

1 tbsp (or more!) kirsch

1/2 cup butter, melted

toppings:

a pint of fresh plums, pitted and halved (both tart and sweet varieties can be used—just adjust accordingly [see below])

a handful of sliced almonds

1 tablespoon sugar (a little more if your plums are extra tart)

Preheat oven to 350º F.

Butter 8” x 8” square cake pan.  Lay a piece of parchment paper inside that’s large enough to cover the bottom and the sides of the pan.  Butter the parchment paper, too.

Mix dry ingredients in a bowl.

Whisk eggs with sugar until mixture lightens in colour and becomes creamy.  Whisk in sour cream until fully blended.  Whisk in kirsch until fully incorporated.  Whisk in melted butter until mixture is homogeneous.  This whole process should take no more than about 3 minutes. 

Add dry ingredients, and whisk once more until just smooth.

Pour batter into parchment-lined cake pan.

Place plums, cut-side down, over the surface of the batter.  Sprinkle sliced almonds over top.  Sprinkle 1 tablespoon of sugar over top almonds and plums.

Place in the oven on the middle rack.

Bake for 30-35 minutes, until a toothpick inserted into the middle of the cake comes out clean.

Place on a cooling rack and allow to cool.

Cut into squares, serve, and enjoy.  This cake is perfect on its own with a cup of coffee or tea, or an after-dinner drink.  But it’s also excellent with vanilla ice cream, or freshly whipped cream.

It’s simple. It’s beautiful. It’s also delicious. What are you waiting for?

aj

Bohèmienne Rhapsody

 
fig. a: height of season

fig. a: height of season

Speaking of tomatoes

If you’re looking for another way to make use of the abundance of peak tomatoes available at the moment, look no further.

This is a show-stopper of a recipe that has been a house staple ever since we first encountered it in Richard Olney’s A Provençal Table: The Exuberant Food and Wine from the Domaine Tempier Vineyard (a.k.a., Lulu’s Provençal Table: The Exuberant Food and Wine from Domaine Tempier’s Vineyard). In fact, in many ways, it was this very dish that began what could safely be labelled a long-term Richard Olney obsession.

As Olney makes clear, this dish is essentially a spread, one made with the finest tomatoes and the most perfect eggplant you can find, it’s versatile—you can serve it hot, warm, tepid, or cold—and it’s a classic part of the Provençal apéro repertoire. It’s a simple dish, but one whose poetic name—Bohèmienne—captures its mysterious transcendental properties.

Olney clearly thought very highly of the Bohèmienne, and it’s a dish whose magic and whose associations with Bandol’s Domaine Tempier vineyard is crucial to an understanding of that Berkeley-Provence connection that brought together the talents and the vision of Olney, Alice Waters, Kermit Lynch, and others.

fig. b:  a fine specimen of an eggplant

fig. b: a fine specimen of an eggplant

Just as the tomatoes began to hit their peak this year, we received a letter from our dear friend OM, who recalled encountering this fabled eggplant-tomato dish at a dinner party we threw years and years ago in Montreal, during one of our first attempts to recreate the grandeur of a true Grand Aïoli—one that Olney himself would have been proud of. I’m sure these early stabs at Provençal cuisine in the grand tradition must have been hilarious—they were definitely high on enthusiasm, even if we were mere novices at the time—but apparently the Bohèmienne left an impression. “I remember it being deeply satisfying, salty and pungent, with that lovely creaminess of eggplant at its peak,” was the way OM recalled it, and with a surplus of tomatoes and eggplants on her hands, she asked if we could provide her with the recipe. We were all too happy to help out.

The dish’s pungency—and some of its salt—comes from the addition of salt anchovies. If you don’t have salt anchovies on hand, you should try to find anchovies packed in olive oil. And if you’d prefer a vegetarian version (vegan, even) of the Bohèmienne, you can just omit them—you’ll have to finesse the dish with some extra salt (and maybe a little extra love), but it’s quite possible to make a luscious version that’s entirely anchovy-free. But I really, really recommend the anchovies if you’re not a strict vegetarian. They’re the “secret ingredient” that really makes this dish sing.

And while I’ve placed an emphasis on the eggplant and the tomatoes—with good reason—the third most important component of a Bohèmienne is the garlic, of course. Use the freshest, juiciest hard-neck garlic you can find (preferably local and organic). Your tomatoes and eggplant are bursting with flavour—why shouldn’t your garlic be as well?

fig. c:  garlic in august

fig. c: garlic in august

Otherwise, making a great Bohèmienne is all about the method. As usual, is Olney is nothing if not precise when it comes to his instructions. Avoid cutting corners and this Bohèmienne will pay you back handsomely.

We were so moved by OM’s letter—and transcribing the recipe for her made me so ravenous for Bohèmienne—that we promptly made a batch a couple of days later. The next day, we brought part of our batch to a small (socially distanced) dinner party, and though the table was loaded with goodies of all kinds, in many ways, it was this rustic eggplant-tomato spread that stole the show. Nobody had had a concoction like it ever before, and everything about the dish spoke SUMMER loud and clear.

Bohémienne

6 tbsp olive oil

1 large onion, halved and finely sliced

3 cloves garlic, crushed and peeled

2 pounds eggplant, peeled, sliced into rounds, salted on both sides for 30 minutes and pressed dry between paper towels

2 pounds tomatoes, peeled, seeded, and coarsely chopped

3 salt anchovies (or 6 anchovy fillets)

salt and pepper

Warm 4 tbsp of the olive oil in a large, heavy pot [Olney recommends a “wide-surfaced cooking vessel,” one whose surface area will aid with “evaporation and reduction”].  Add the onion and cook over low heat, stirring regularly with a wooden spoon, until softened but not coloured.  Add the garlic and eggplant; cook until softened, stirring regularly.  Add the tomatoes, turn up the heat, and stir until they begin to disintegrate and the mixture begins to boil.  Lower the heat to maintain a simmer, uncovered, for an hour or more.  Stir regularly, crushing the contents with the wooden spoon and, after about 45 minutes, crush regularly with a fork to create a coarse purée from which all liquid has evaporated.  Toward the end, it should be stirred almost constantly to prevent sticking and the heat should be progressively lowered.

Pour remaining 2 tbsp olive oil into a small pan, lay out the anchovy fillets in the bottom, and hold over very low heat until they begin to disintegrate when touched or when the pan is shaken.  Remove the eggplant-tomato purée from the heat and stir in the anchovies and their oil.  Taste for salt and grind over pepper.  If prepared in advance, transfer the bohémienne to a bowl and leave, uncovered, to cool completely before covering and refrigerating.

serves 8

Serve with crusty bread and a cold, crisp glass of rosé—a beautiful Bandol like Domaine Tempier’s rosé would be wonderful, of course, but the price on these have crept up steadily over the years, and any one of a number of French or Italian rosés or rosatos would also make for an excellent accompaniment. At the moment, we’re particularly fond of an especially ethereal Corsican wine from Domaine de Marquiliani known as “Rosé de Pauline”. On the night we brought the Bohèmienne to that recent dinner party, it was paired with Swick’s lusty “Only Zuul.”

Though we typically serve our Bohèmienne warm, or at room temperature, Olney notes that the dish is sometimes served hot, as a gratin. Just "spread it into a shallow oven dish, sprinkle it with dried bread crumbs and olive oil,” and bake it in the oven.

aj

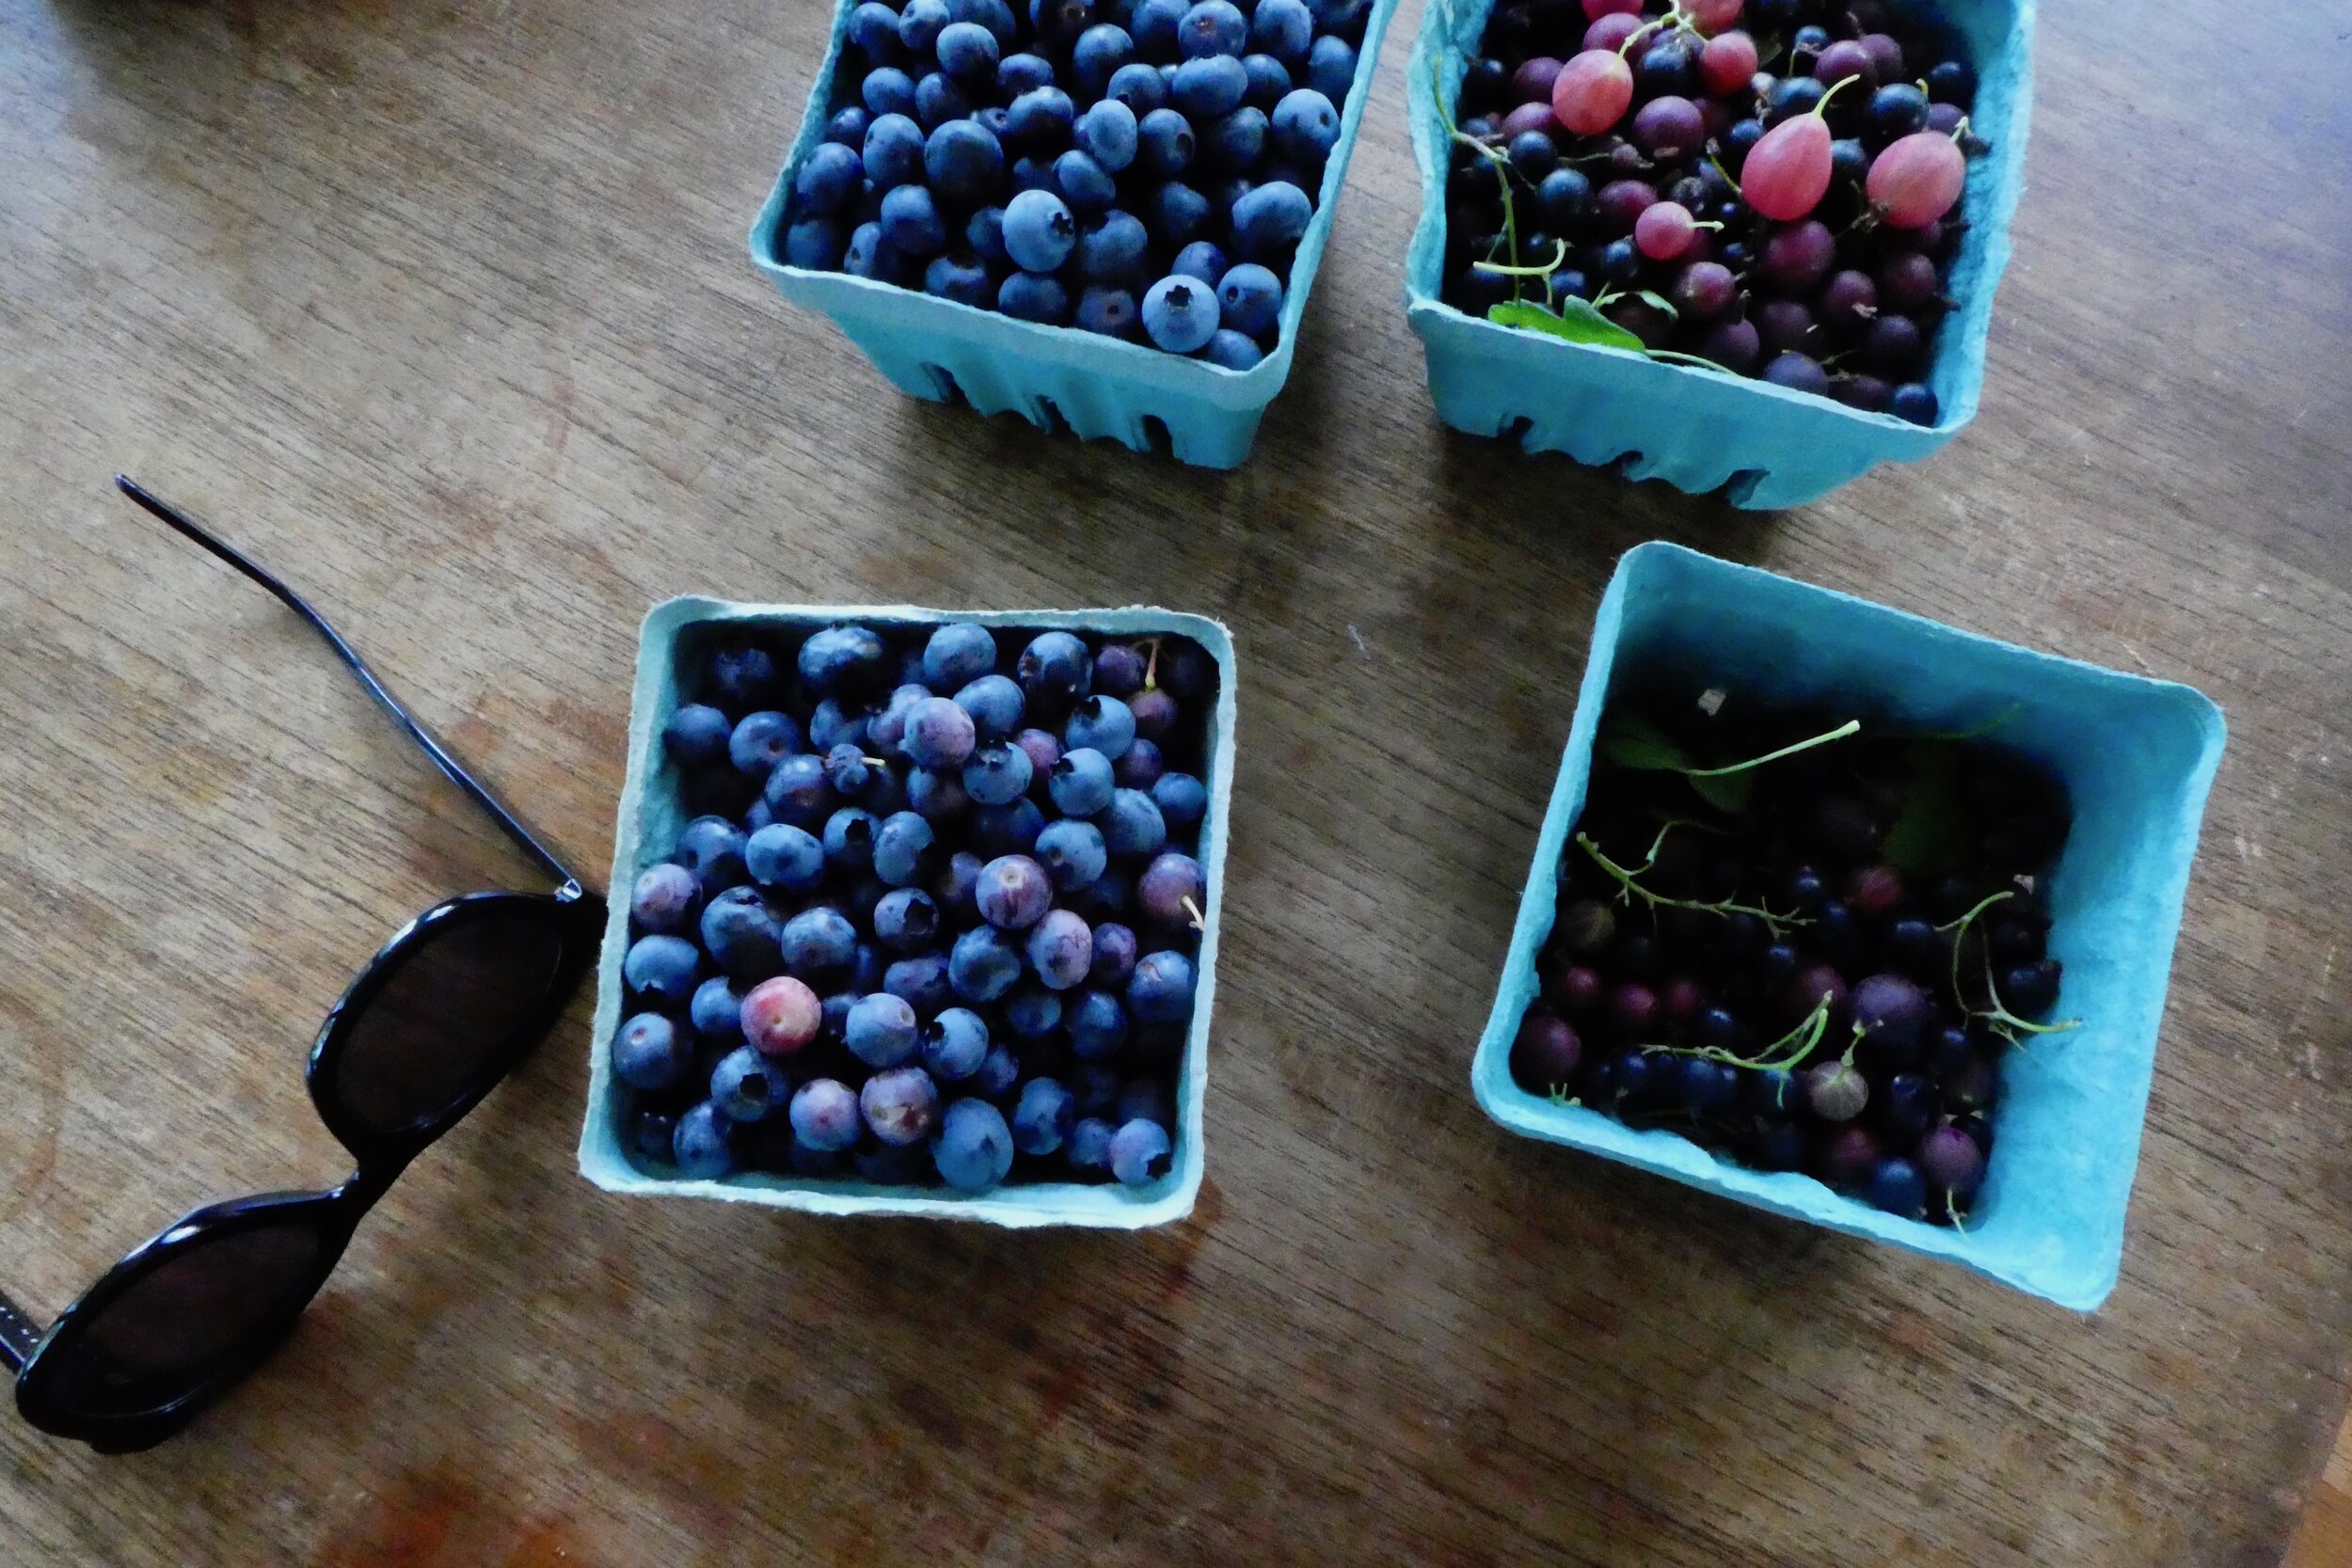
Thank you berry much

 
fig. a: out of the berry patch

fig. a: out of the berry patch

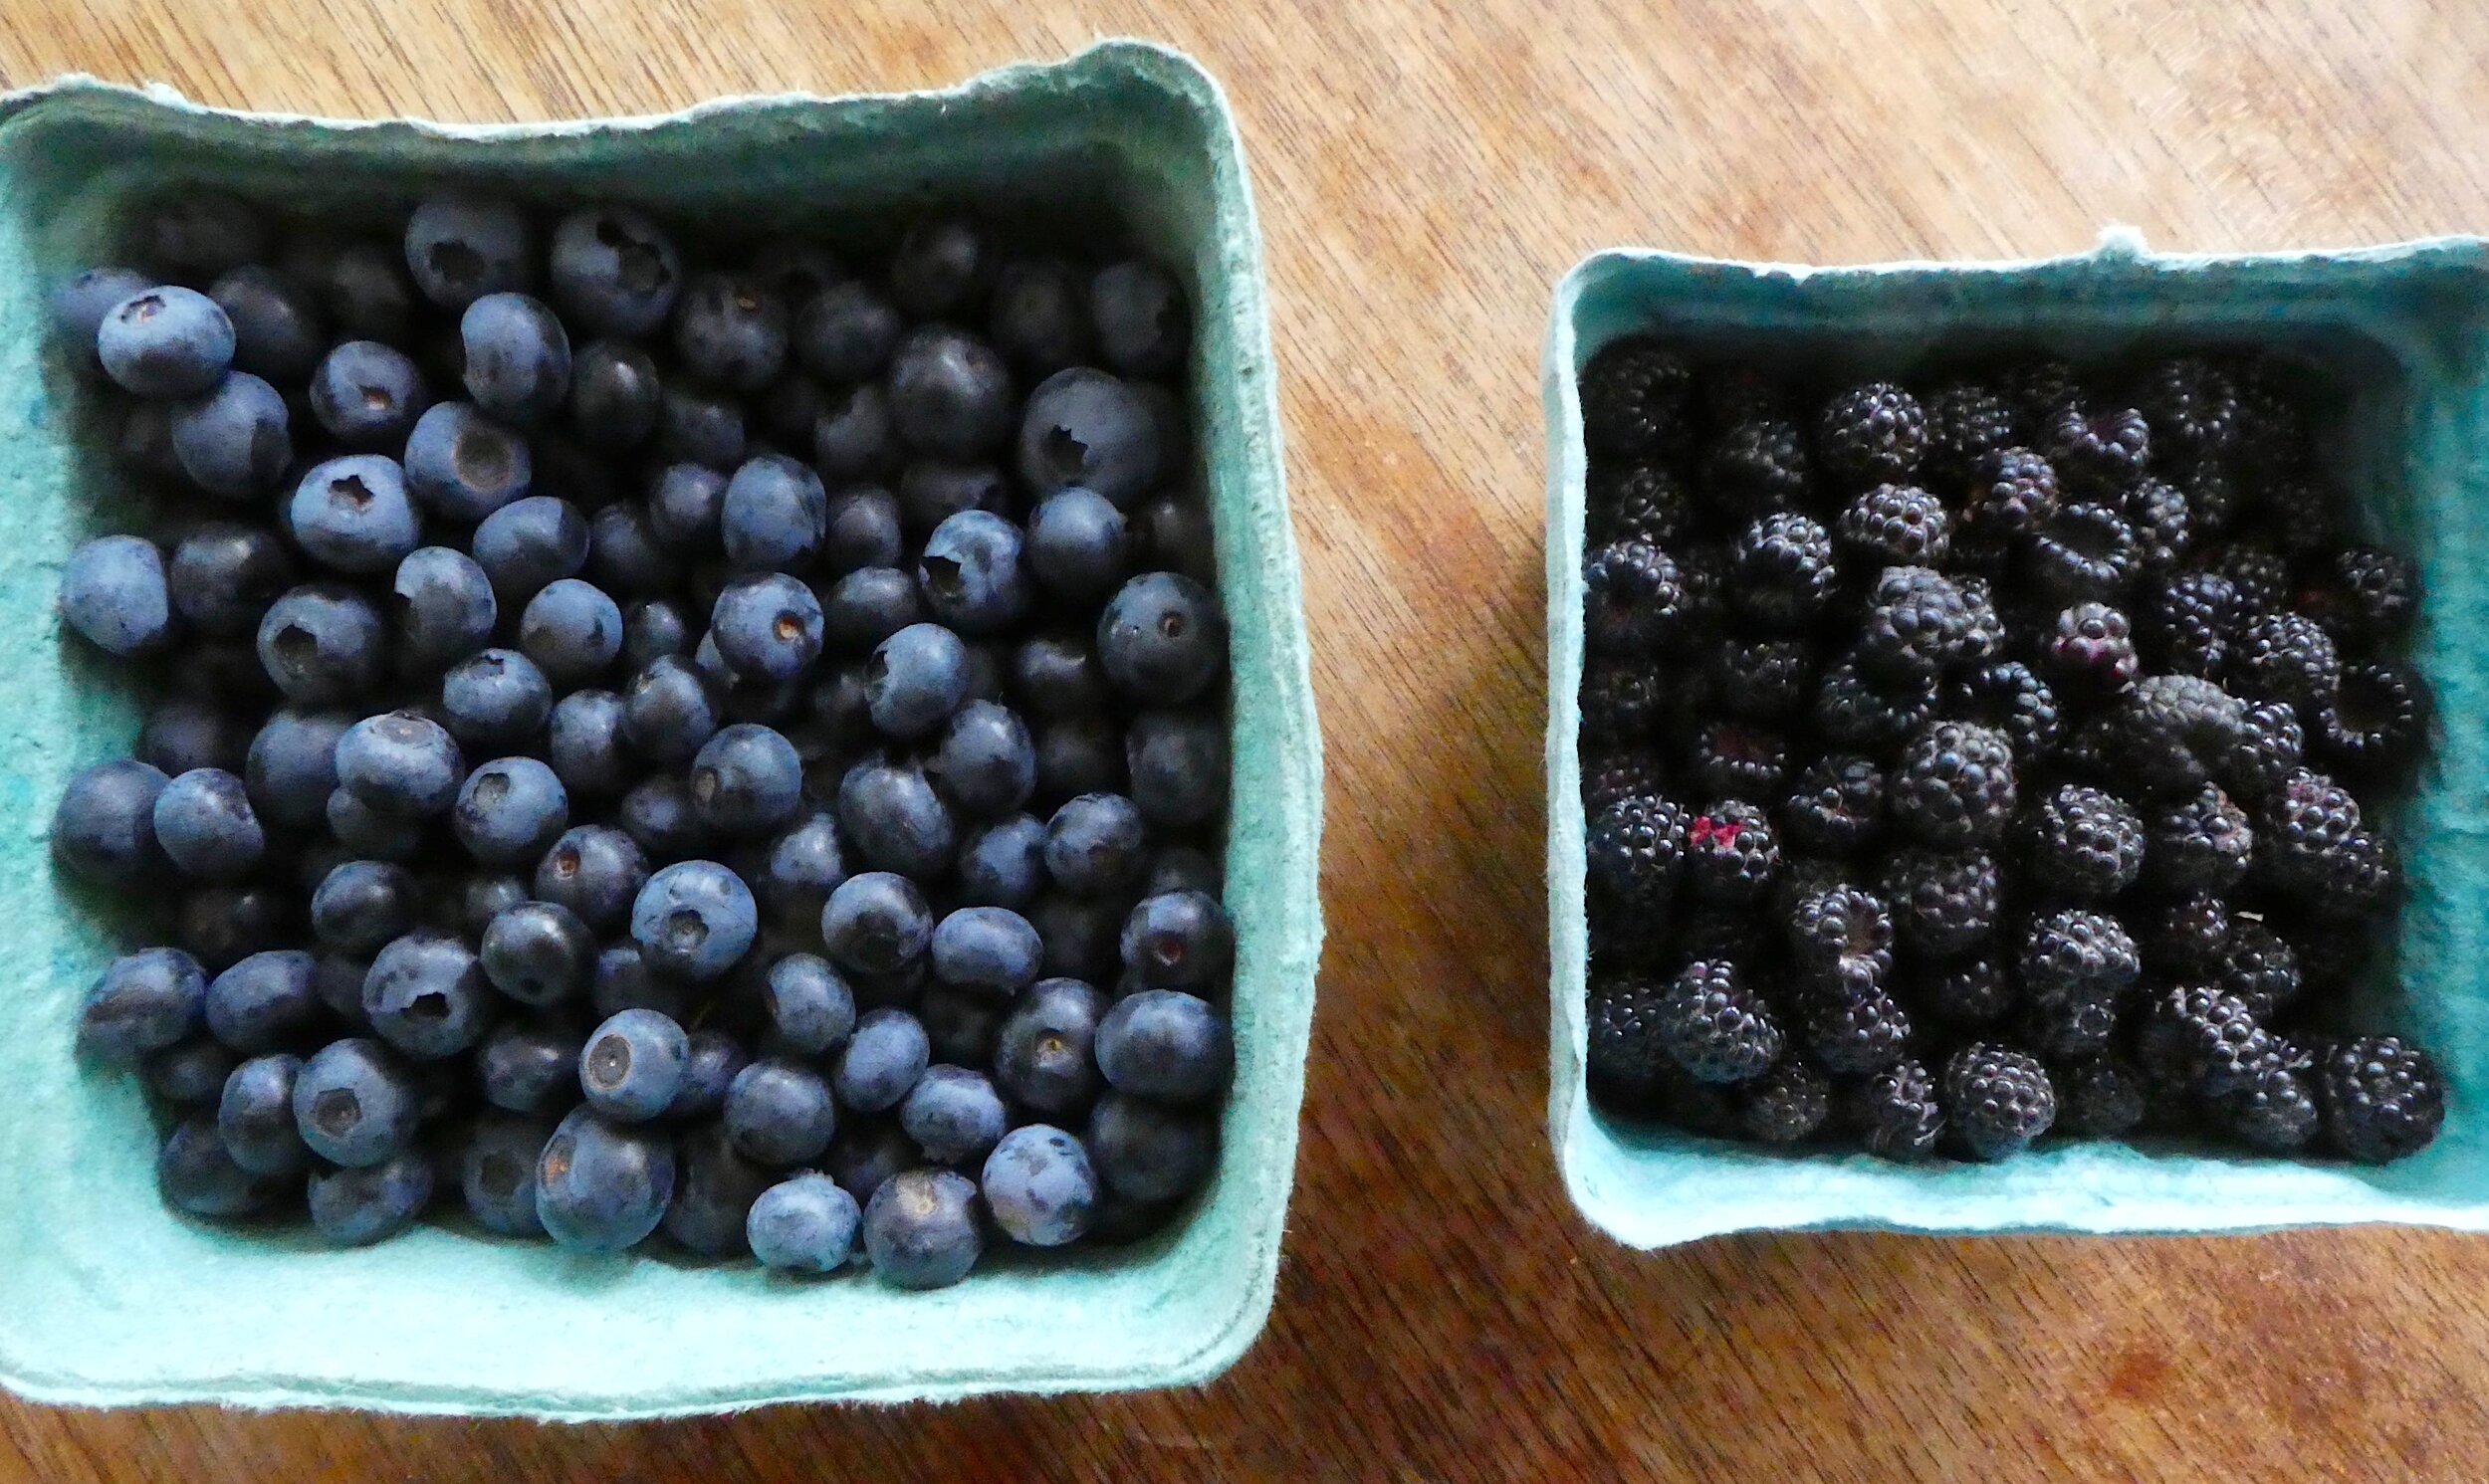
fig. b: bloobs & black raspberries

fig. b: bloobs & black raspberries

If you’re going to have an absolutely bonkers berry year—and we’re definitely experiencing one in our little neck of the woods right now—there are a few crucial recipes you need to go along with it.  And in my mind, one of them’s gotta be a proper pancake recipe.

Sure, you can fold berries directly into your batter to make, say, blueberry pancakes—you might even have a favourite blueberry pancake recipe on hand—but I’m talking about a “plain” (but definitely not plain) pancake recipe.  One that you can adorn with an unholy combination of butter, syrup, and freshly macerated berries as they come hot off the griddle.  One that will serve you well even when fresh, local berries have gone out of season.  One that’s truly heavenly.

fig. c:  out of “the grocery store”

fig. c: out of “the grocery store”

In this case, the recipe I have in mind is one that first appeared in Canal House Cooking no. 6 (“The Grocery Store”) way back in 2011.  But when Melissa Hamilton and Christopher Hirsheimer—the prodigious talents behind Canal House—compiled a year’s worth of their best recipes for their collection Canal House Cooks Everyday the following year, it’s not one that made the cut, strangely.  Hamilton & Hirsheimer were generous enough to share Hirsheimer’s family recipe for “Buttermilk Love Cakes” in their book—and that’s a blessing, there’s no doubt about it—but this recipe is similarly phenomenal, and it’s maybe just a tiny bit easier to get exceptional results with, because it’s maybe just a tiny bit easier to source good sour cream (which this recipe calls for) than it is to source good buttermilk (which the “love cakes” call for).  (Then again, maybe not—depends on where you live.)

fig. d: these gorgeous pancakes are a delicious part of a complete breakfast

fig. d: these gorgeous pancakes are a delicious part of a complete breakfast

Like virtually all of the very best pancakes, these sour cream pancakes are light as a feather and anything but banal.  These are pancakes that turn out beautifully, they’re supremely flavourful, and they marry wonderfully with the mixture of raspberries, blueberries, and black raspberries we’ve been enjoying in recent days.

fig. e:  the red & the blue

fig. e: the red & the blue

So without any further ado…

Canal House Cooking’s Sour Cream Pancakes

1 cup sour cream*

3 large eggs, separated

2 tablespoon melted butter

7 tablespoons cake flour

1 tablespoon sugar

1/2 teaspoon baking soda

1/2 teaspoon salt

Vegetable oil

Whisk the sour cream and egg yolks together in a medium mixing bowl.  Whisk in the melted butter.  Put the flour, sugar, baking soda, and salt into a sieve and sift into the sour cream mixture.  Lightly whisk until just mixed [a few lumps won’t hurt anything, according to Hamilton & Hirsheimer].

Put the egg whites into a clean mixing bowl and beat with a whisk until soft peaks form (this takes a bit of elbow grease, but it’s worth it). Use a rubber spatula to fold them into the batter.  Please, for the love of god, don’t overwork the batter.  Keep it light and fluffy.

Pour a little oil on a nonstick griddle or large skillet.  Wipe out the oil with a paper towel, leaving only the thinnest film.  Heat the griddle over medium or even medium-low heat [depends on your range] until hot.  Pour about 1/4 cup of batter on the griddle.  Cook until little holes appear on the surface and the cooked side of the pancake—go ahead and lift the edge to check!—is golden brown, about 1 minute on each side, if your griddle is at the proper temperature.  Slather on the butter, a few good glugs of real maple syrup, and and a heap of freshly macerated and/or fresh berries if you have them on hand.

Devour.

{Makes about sixteen 4-inch pancakes.}

[adapted ever so slightly from Melissa Hamilton & Christopher Hirsheimer’s Canal House Cooking, No. 6, 2011]

fig. f:  unholy mess

fig. f: unholy mess

Keep your berry mixture simple.

Mix together whatever fresh, ripe, local berries you have on hand (as long as they’re nice and sweet—like raspberries, blueberries, black raspberries, red currants, and blackberries**).  Depending on the amount of berries, stir in a tablespoon, or two (or three, or four…) of white sugar (the basic formula we use is about one tablespoon of sugar per cup of berries).  Crush the berries a little as you stir the sugar in evenly, bruising them so that they release their juices more readily.  Don’t overdo it with the sugar, but, if you’re going to sweeten them at all, don’t underdo it either.  This berry mix should be an absolute joy to eat and it should produce a fair bit of beautiful berry syrup, too.

If you prefer, do a mixture of macerated berries and entirely fresh berries, like the combination of macerated raspberries and fresh blueberries you see in the accompanying photographs.

And if you’re a purist, go ahead and top your pancakes with the simple pleasures of fresh, raw, unsweetened berries.  We won’t judge.

But, please, while berries are at their peak—as they are right now—insist on fresh, local berries if you can—preferably ones you harvested or foraged yourself.

aj

* We prefer Cabot Creamery sour cream whenever we can get our hands on it.

** Basically, you want to avoid things like gooseberries and blackcurrants, which are essentially inedible in their raw state (at least by humans).